How to Connect a Bluetooth Headset to PS5 Step by Step
18 August 2026 | 226
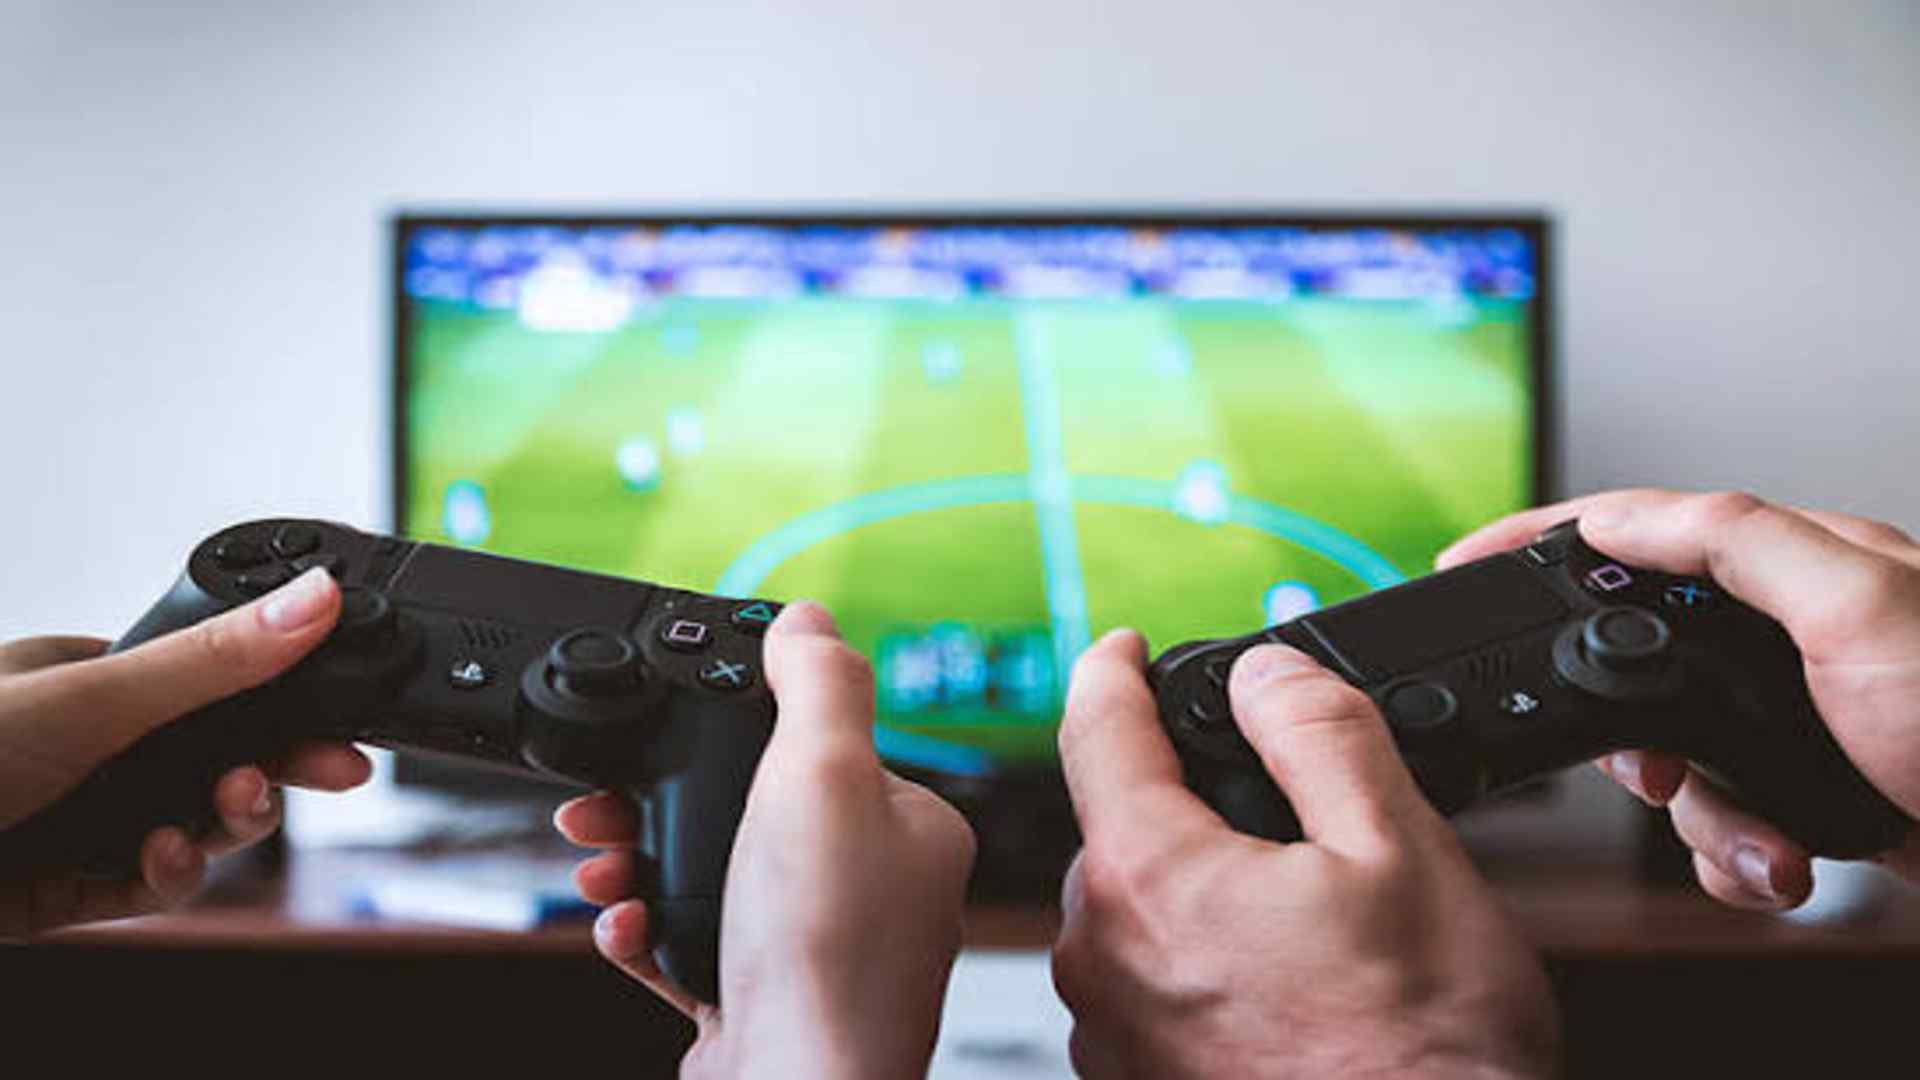
The PlayStation 5 offers an incredibly immersive gaming experience, but many players are surprised to learn that the console does not support standard Bluetooth audio devices natively. Sony limits this feature primarily because standard Bluetooth setups suffer from latency issues and bandwidth restrictions when handling both high-quality audio and microphone inputs simultaneously. Fortunately, there are seamless workarounds that allow you to enjoy wireless freedom using your favorite audio gear.
Understanding the PlayStation 5 Bluetooth Limitation
While the console uses Bluetooth to connect its DualSense controllers, it deliberately blocks standard wireless headsets from pairing directly for game audio. This architectural decision ensures that players experience zero lag during intense multiplayer matches where every millisecond counts. Relying on an official or compatible third-party USB dongle remains the most effective method to bypass this restriction entirely.
Using a dedicated adapter creates an independent wireless channel specifically optimized for gaming performance. This means you can maintain crystal-clear chat functionality without sacrificing environmental sound depth or localized stereo cues. Understanding this hardware baseline helps you choose the correct method to set up your personal audio station.
Using a USB Bluetooth Adapter or Dongle
The most reliable step-by-step method involves purchasing a compatible USB Bluetooth transmitter that plugs directly into one of the console's ports. First, insert the USB dongle into the front Type-C port or one of the rear Type-A ports on your powered-on console. Next, press and hold the pairing button on the dongle until its LED light flashes rapidly, indicating it is looking for a connection.
Put your personal wireless headset into pairing mode by following the manufacturer instructions, which usually involves holding down its power or Bluetooth button. Keep the headset near the console for a few moments until the flashing lights on both devices turn solid. Once a stable connection is established, your device is ready to transmit game audio wirelessly.
Configuring Audio Settings on the Console
After successfully pairing your headset to the USB transmitter, you must adjust the internal console settings to direct the sound output correctly. Navigate to the main settings gear icon located in the upper right corner of the home dashboard screen. Scroll down through the options list and select the Sound menu to access your connected audio devices.
Choose Output Device from the list and select your USB adapter rather than the controller or television speakers. Ensure that the option to switch output devices automatically is toggled on to streamline future gaming sessions. Finally, adjust the volume sliders to your preferred baseline and test the microphone sensitivity to ensure clear communication.
Alternative Methods via Television and Controllers
If you prefer not to purchase an additional accessory, you can leverage the built-in Bluetooth features of modern smart televisions. Pair your headset directly to your TV bluetooth settings menu, allowing the console to send audio over the HDMI cable to the screen before it streams wirelessly to your ears. This method provides an excellent solution for single-player games, though it may introduce slight latency during competitive online play.
Another simple workaround is using a short 3.5mm auxiliary cable to connect your wireless device directly to the audio jack on the bottom of the DualSense controller. While this technically creates a wired tether to your hands, the controller itself remains entirely wireless from the console. This configuration provides flawless real-time audio transmission and microphone support without any wireless interference.